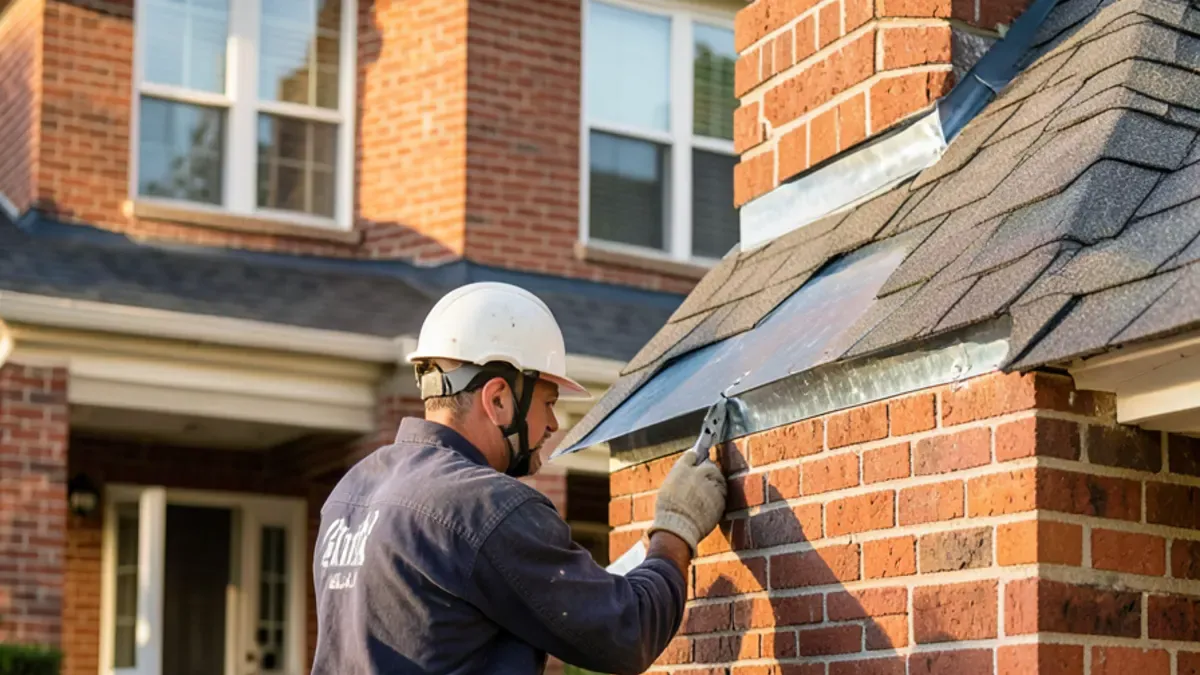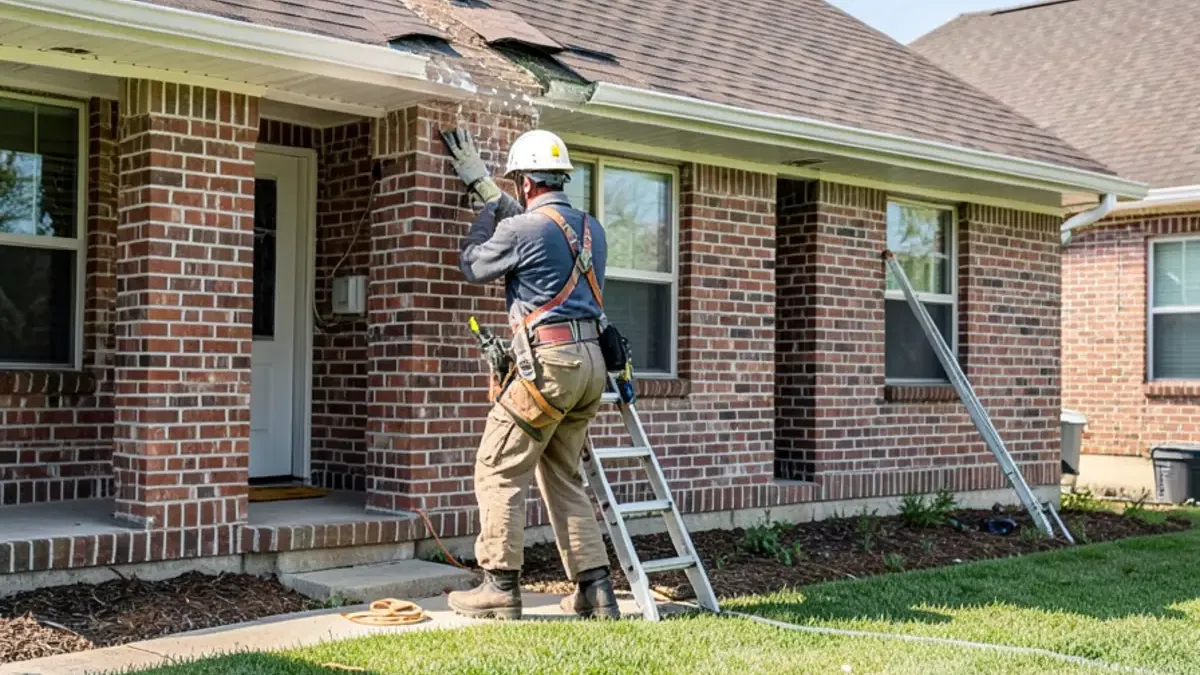
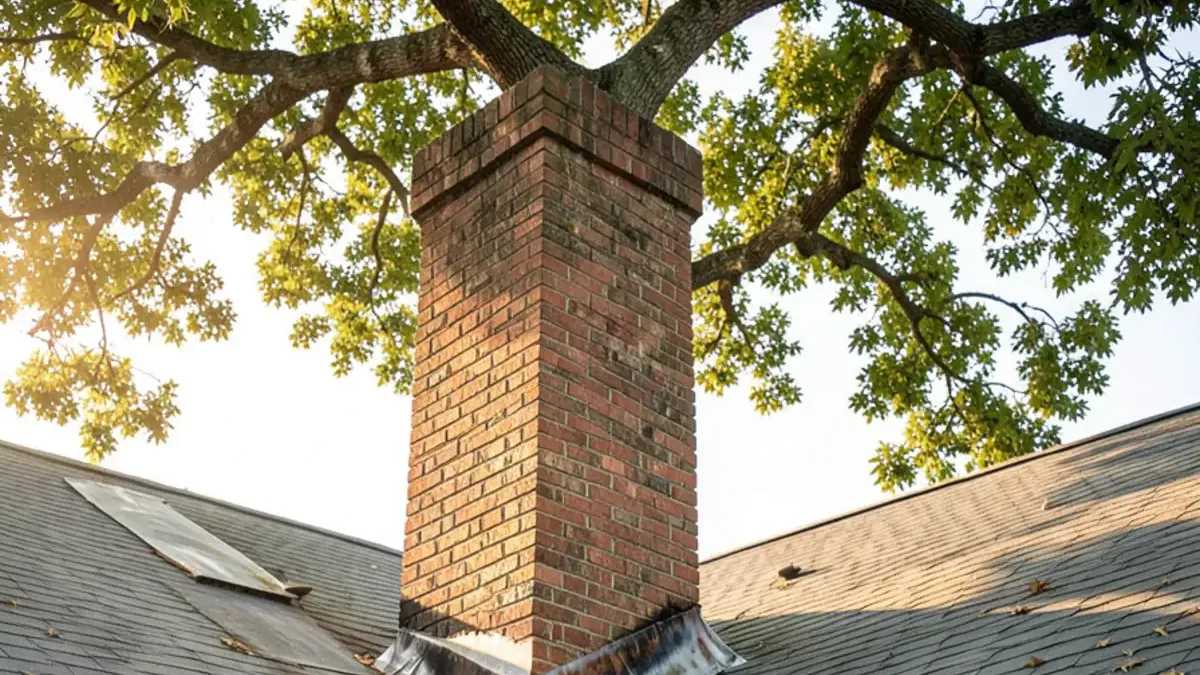
A chimney flashing leak, or one where a roof meets a wall, is the classic leak that returns after every patch. The usual cause is missing or misassembled metal, such as skipped step flashing, counterflashing glued on instead of cut into mortar, or no cricket behind a wide chimney. The lasting fix rebuilds the flashing layers in order.
Some leaks get fixed once and stay fixed. Flashing leaks tend to get fixed four times. If you've had the area around your chimney or a second-story wall sealed, resealed and then sealed again, the problem almost certainly isn't the sealant. It's the metal underneath, or the lack of it.
Where Flashing Lives and What It Does
Shingles shed water well across an open slope. They can't seal against a vertical surface, so wherever a roof meets a wall, a chimney or a skylight, flashing does the job. On most homes, you'll find several types:
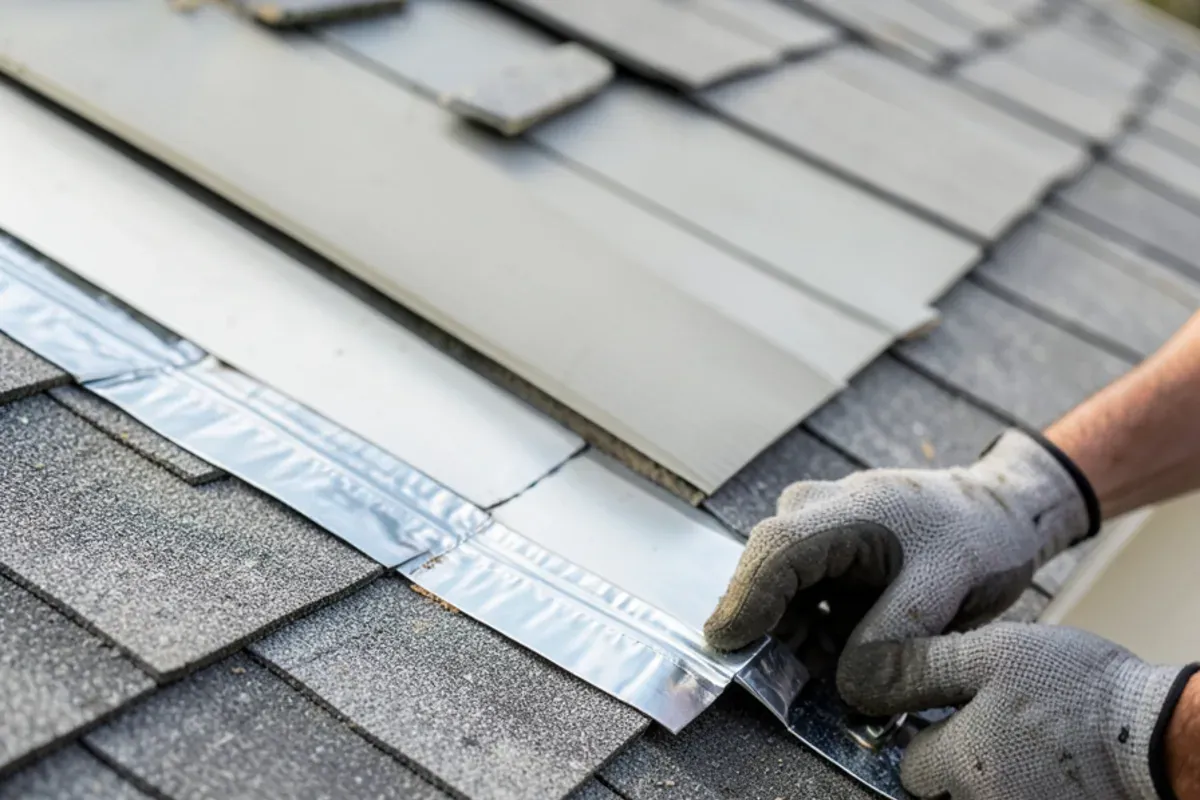
- Step flashing: small L-shaped pieces woven into each shingle course along a sidewall or chimney side.
- Counterflashing: a second layer of metal over the step flashing, set into the wall or mortar, so water can't get behind it.
- Apron flashing: a single piece across the downslope face of a chimney or the bottom of a wall.
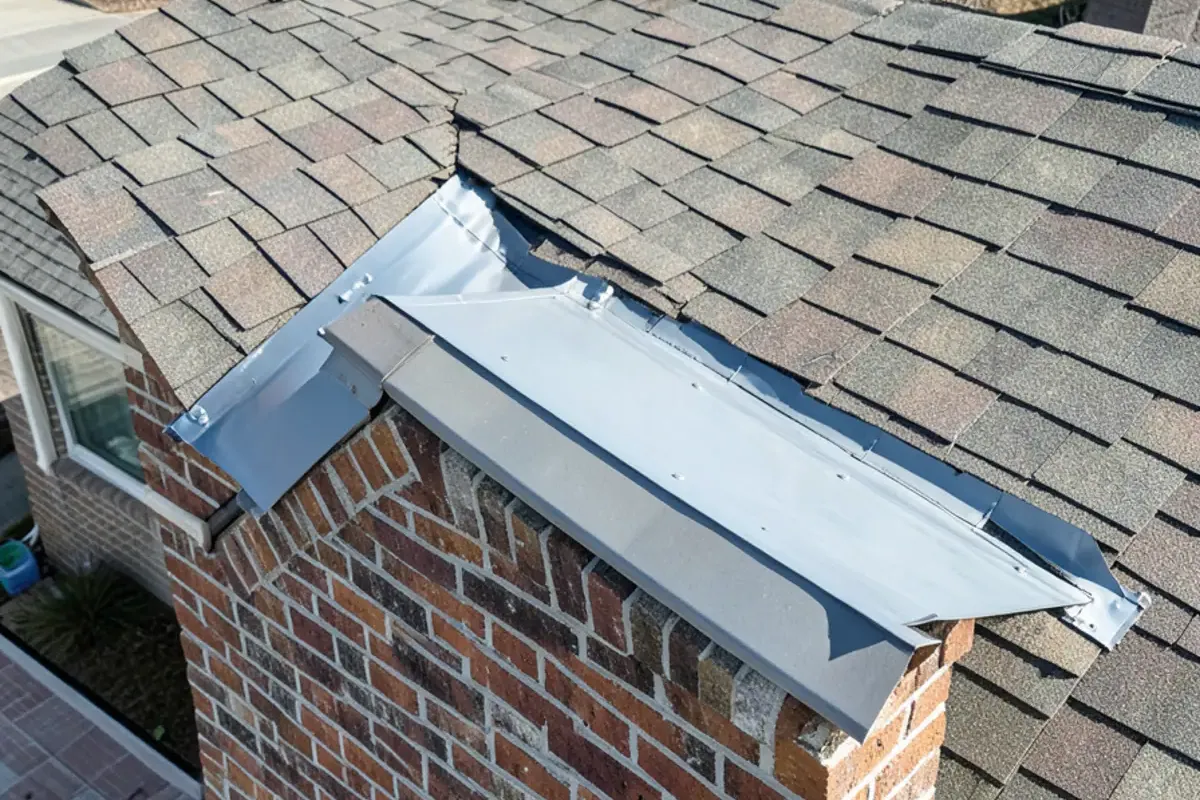
- Cricket or saddle: a small peaked structure behind a wide chimney that splits water around it.
- Kickout flashing: a bent piece at the bottom of a roof-to-wall junction that throws water into the gutter instead of behind the siding.
When any one of those is missing or installed out of order, water finds the gap.
Why Step Flashing Leaks Keep Coming Back
Most recurring flashing leaks share a few root causes:
- Step flashing skipped or reused. During a past re-roof, a long single piece of metal was used instead of individual steps, or bent old pieces were reused.
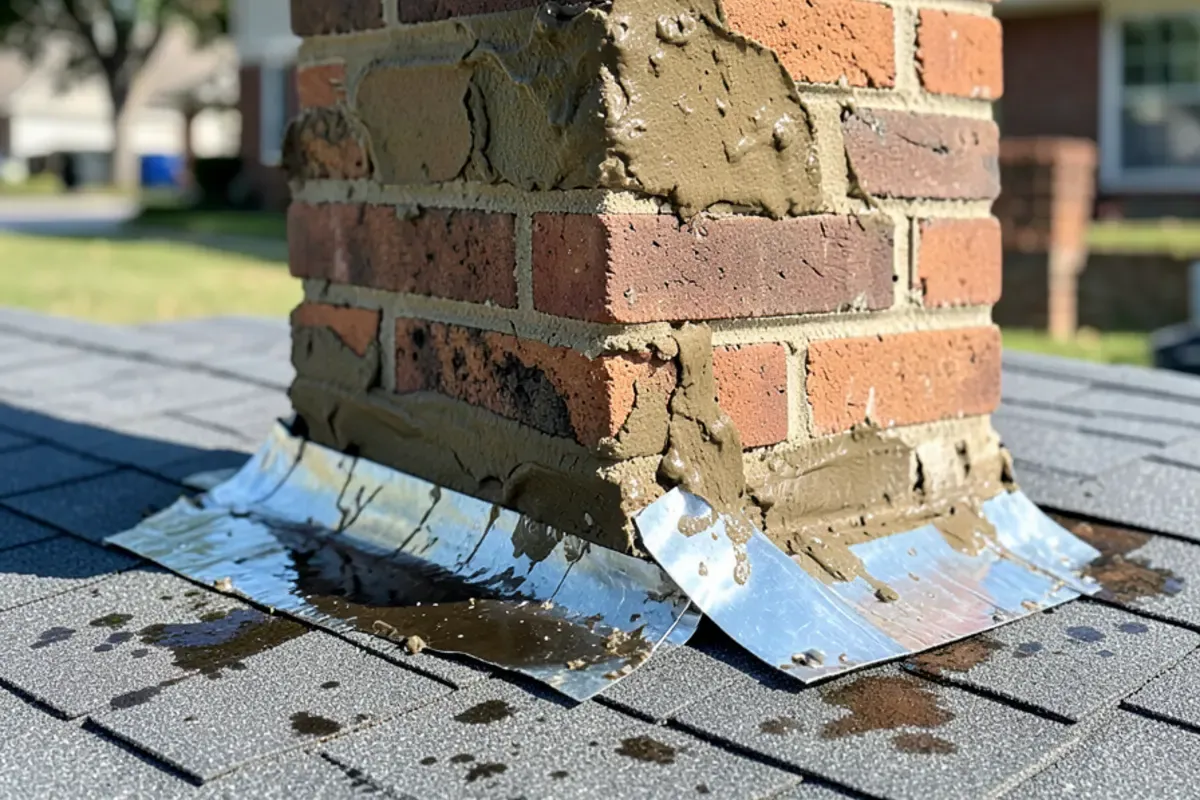
- Counterflashing surface-mounted. Instead of cutting a groove into the mortar joint, someone glued the counterflashing to the brick face with caulk.
- Flashing caulk failure. Sealant was used as the main defense. Texas heat dries and cracks it, and it pulls away from brick and metal at different rates.
- No cricket. Water and debris pile up behind a wide chimney and back up under the shingles.
- No kickout. Water running down the roof-wall junction pours behind the siding, stucco or brick at the bottom of the wall.
Want a roofer to look at it?
Free inspection with photos. Se habla español.
- 5.0 on Google (33 reviews)
- Free inspections & estimates
- Se habla español
- Workmanship guaranteed in writing with every contract
Chimney, Wall and Counter Flashing: Problems and Proper Fixes
| Location | Common failure | Lasting repair |
|---|---|---|
| Chimney sides | Missing steps, caulk-only seal | New step flashing with each shingle course |
| Chimney face and back | Surface-glued counterflashing, no cricket | Counterflashing cut into mortar; cricket on wide chimneys |
| Second-story sidewall | Long single piece instead of steps | Siding opened, step flashing installed, wall wrap lapped properly |
| Bottom of a roof-wall junction | No kickout flashing | Kickout added so water exits into the gutter |
| Older stucco or brick walls | Flashing buried with no counterflashing | Counterflashing or reglet added; wall repair by the right trade |
The International Residential Code calls for a cricket on the upslope side of chimneys wider than 30 inches. Irving adopted the 2024 IRC effective May 1, 2026, according to eCode360; check the edition your city enforces with its building department before planning major work.
How to Tell Flashing From Other Leaks
Flashing leaks have telltale patterns. Stains appear on the ceiling or wall right next to the chimney or along the interior side of an exterior wall. They often show up in wind-driven rain from one direction, and they return after repairs that only added sealant. From the ground, look for heavy caulk beads, metal that's bent or lifted, rust streaks on brick, and stains on siding just below a roof line.
From the attic, follow the water to the chimney chase or wall framing. If the wood next to the chimney is stained while the decking out in the open slope stays dry, flashing is the prime suspect.
Spot Repair or Full Rebuild?
Not every flashing problem calls for tearing into the whole chimney. The right scope depends on what failed and how much history is stacked on top of it.
When a smaller repair holds
A spot repair works when the roof is fairly young, the leak traces to one side of a chimney or one stretch of wall, and the step flashing underneath is intact. Adding a missing kickout, replacing a few bent steps or cutting in a new length of counterflashing can stop the water without disturbing the rest. The trade-off is matching: lifted shingles on an older roof can crack, and replacement shingles rarely match faded ones exactly.
When the whole detail needs rebuilding
A full rebuild makes sense when you find layers of tar and caulk, when counterflashing was glued to the brick face, or when the chimney is wide and has no cricket. It also makes sense at re-roof time, when the shingles around the chimney come off regardless. On walls with stucco or brick veneer, opening the wall may bring in another trade, and we plan that with you before work starts.
Questions to ask before anyone touches the flashing
- Will shingles be removed so step flashing can go in course by course?
- Will counterflashing be cut into the mortar joints, not glued to the brick?
- Is the chimney wide enough to need a cricket?
- Is there a kickout at the bottom of each roof-to-wall junction?
- Who repairs siding, stucco or masonry if it has to be opened?
- Will you send photos of the flashing before it is covered?
What We Find Behind Repeat Chimney Repairs
On older homes, especially in established neighborhoods like University Park, where many houses carry original brick chimneys, we often open up a chimney and find layers of history: tar over caulk over metal that was bent to fit a previous roof. The chimney has outlived three roofs, and each roofer patched around it rather than rebuilding the flashing.
Doing it right usually means removing the shingles around the chimney, installing new step flashing course by course, cutting counterflashing into the mortar joints, and adding a cricket where the chimney is wide enough. It's more work than a tube of caulk, and it's the reason the leak doesn't return. Where the brick, crown or mortar is the real culprit, we'll say so and point you to a mason.
Break the Patch-and-Repeat Cycle
If your chimney or wall leak keeps returning, the next repair should start with the metal. Our flashing repair service rebuilds step, counter, cricket and kickout flashing, and it's part of our wider roof repair work. Close to home, we serve Irving neighborhoods as a roofing contractor in Irving, TX, and across Dallas County. ¿Problemas con el tapajuntas de la chimenea? Hablamos español.
Tired of resealing the same spot? Talk to us at (725) 745-8803. We'll open up the problem area, show you photos of what's under the caulk, and give you a written plan for a repair that lasts.
Questions readers ask
Why does my chimney keep leaking after it was resealed?
Can a leak at the chimney actually be coming from the brick?
Should chimney flashing be replaced when I get a new roof?
What metal works best for chimney and wall flashing?
Sources

Written by the RJ Premium Roofing team, a bilingual roofing contractor based in Irving, TX. We inspect, repair and replace roofs across Dallas–Fort Worth and document storm damage for homeowners’ insurance claims.