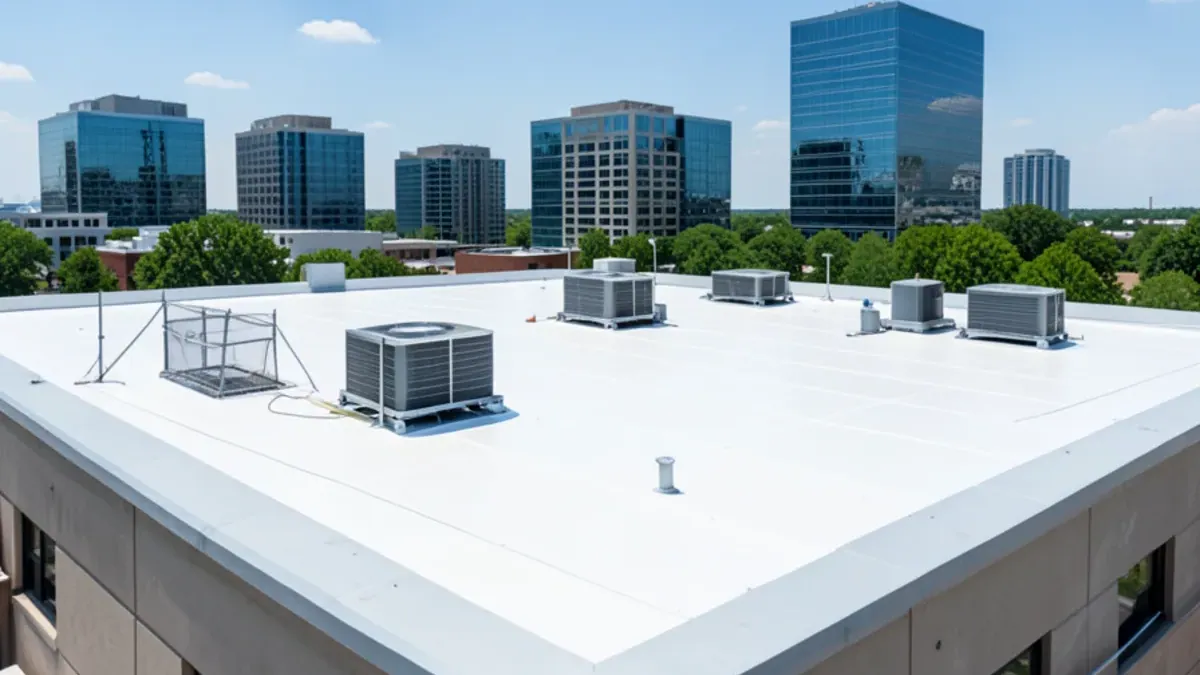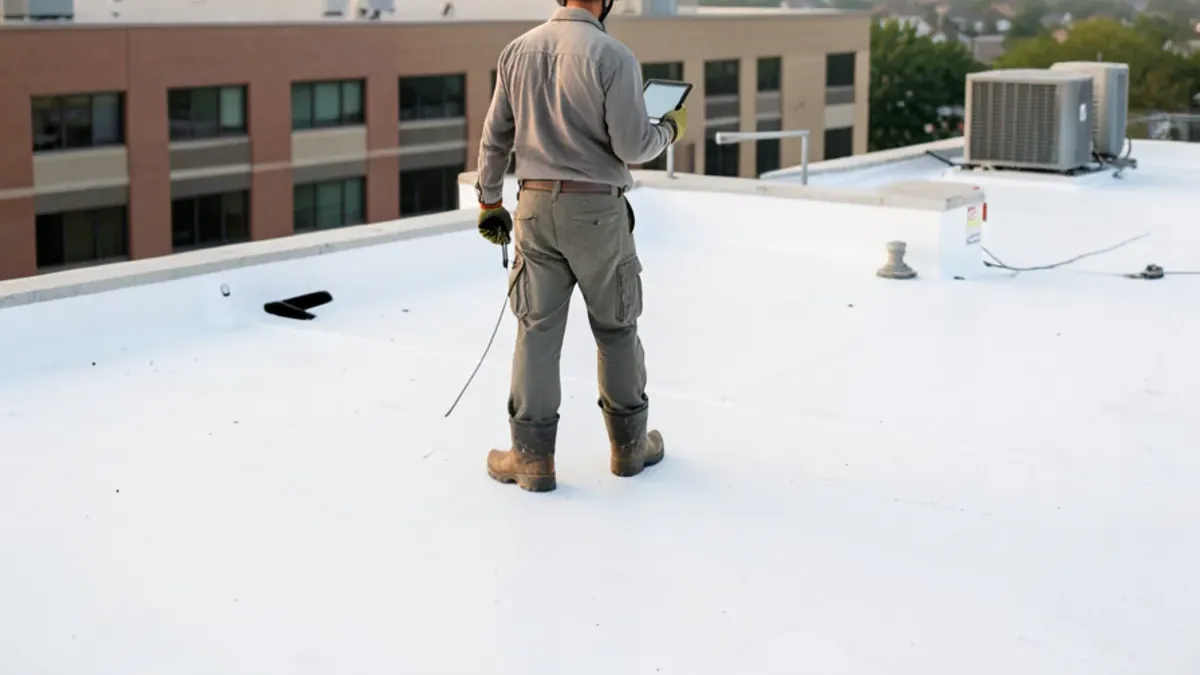
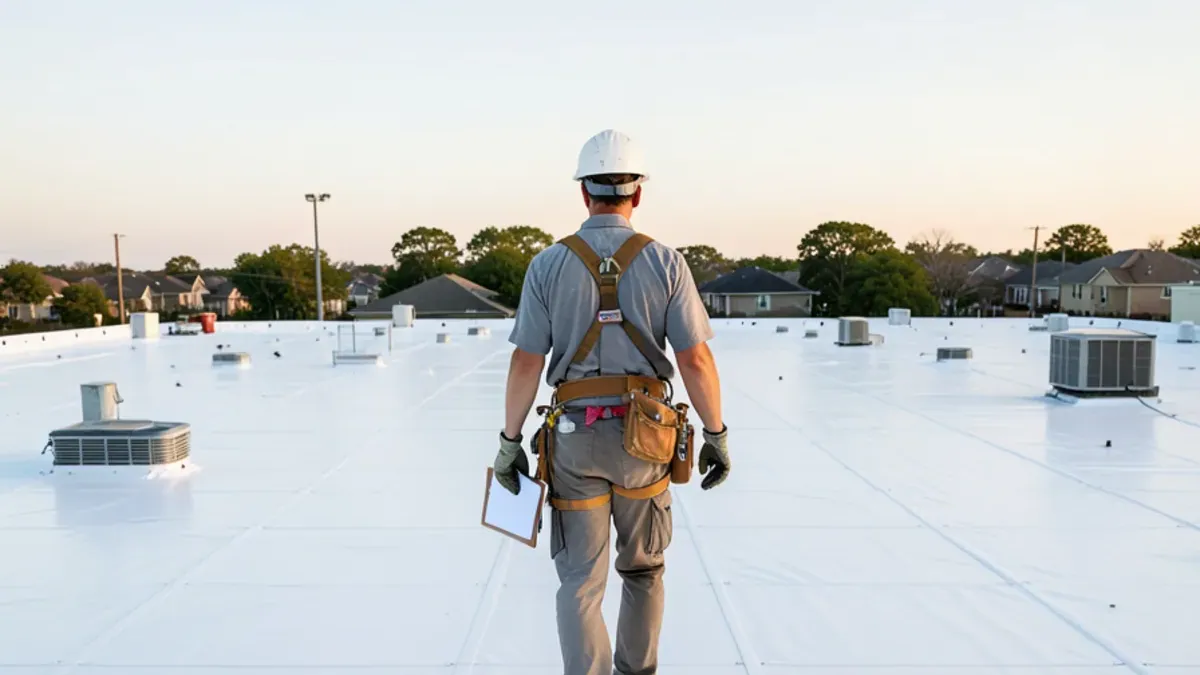
A complete commercial roof inspection checklist covers records and the interior first, then the roof field, seams, perimeter, penetrations, rooftop units and drainage, and ends with a written condition report. In Dallas–Fort Worth, add post-hail checks, because a smooth membrane can hide crushed insulation. Use it to judge whether a report covered the whole roof.
An inspection is only as good as its coverage. We see plenty of reports that describe the membrane in detail but skip the coping, the drains or the deck underside, which is often exactly where the trouble is. This checklist lays out what a thorough visit on a low-slope commercial roof in North Texas should include, in the order we work through it. For the wider range of building services, start with our commercial roofing page.
Before Anyone Climbs: Records and Interior Clues
The roof walk goes faster and finds more when the inspector knows the building's history.
- Roof age, system type and installer, if known
- Warranty documents and any maintenance requirements in them
- Past repair invoices and leak locations
- Dates of hail or wind events since the last inspection
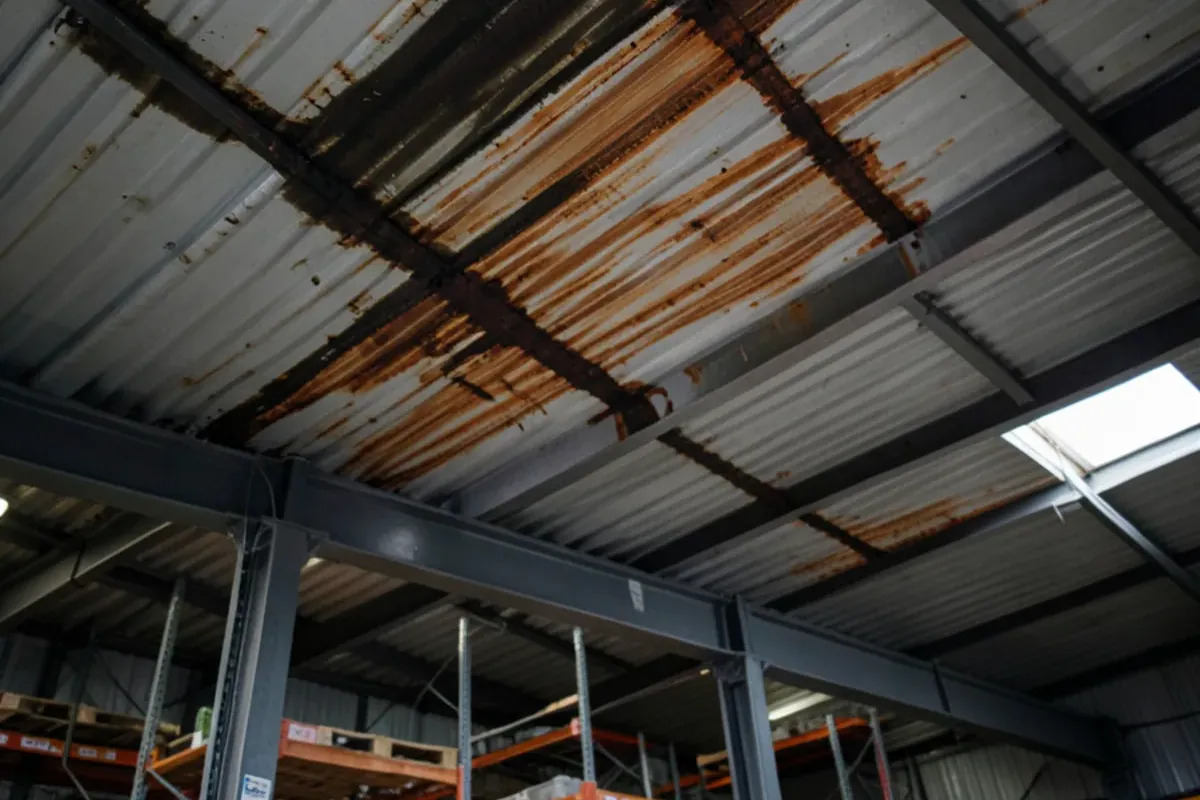
- Interior walk: ceiling stains, wet insulation, rust on the deck underside, active drips
Interior clues are especially important on warehouses, where water can run along the deck flutes for a long distance before it drips.
Is the Roof Safe to Walk Today?
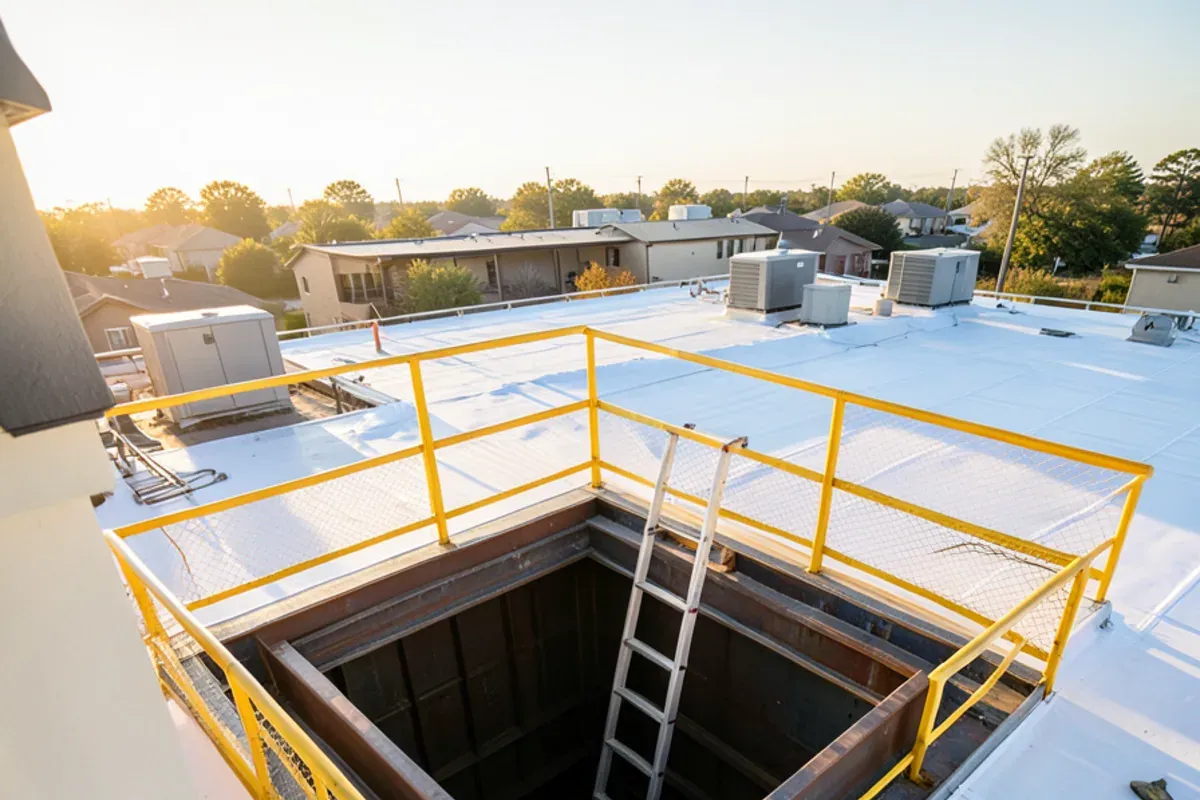
Safety and access are the first items on the roof, not an afterthought. A short check before the walk protects the inspector and often turns up findings of its own:
- Roof hatch opens fully, latches open and closes tight against weather
- Fixed ladder secure at the wall, rungs and side rails sound
- Guardrail or cover around the hatch opening, and around skylights near the work path
- Fall-protection anchors, if installed, visibly intact and not rusted at the base
- Trip hazards such as loose conduit, abandoned equipment curbs and cables noted
- A clear path back to the hatch kept open the whole visit
Skylights deserve a second look, because a plastic dome is not built to hold a person who steps back onto it. On North Texas summer days we schedule the walk for early morning, since a white membrane at midday is hard on eyes and boots and a dark roof can be too hot to kneel on. We also skip walking a roof that is still wet or frosted; the inspection moves to the next dry day.
The Commercial Roof Inspection Checklist, Zone by Zone
Roof field
- Splits, punctures, blisters and wrinkles
- Exposed scrim or reinforcement on single-ply sheets
- Granule loss, cracking or alligatoring on modified bitumen and built-up roofs
- Soft spots underfoot that suggest wet or crushed insulation
- Debris, screws and panels left by other trades
Seams and laps
- Probe single-ply seams for unbonded sections
- Check modified bitumen laps for open edges and missing granules at the overlap
- Look for old patches over seams and whether they are still adhered
Perimeter and walls
- Edge metal secure, with no lifted sections at corners
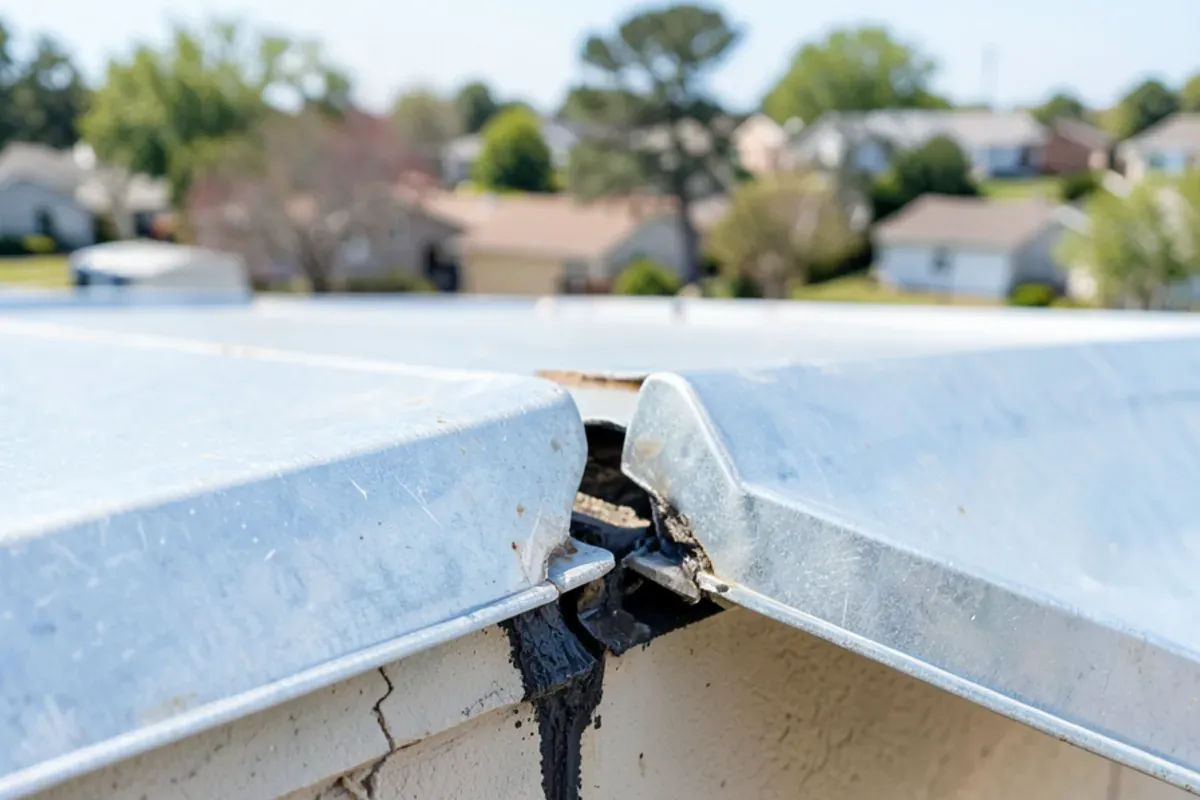
- Coping joints sealed, cleats intact
- Parapet base flashings adhered, with termination bars and counterflashing tight
- Wall cracks or masonry gaps above the flashing
Penetrations
- Pipe boots and pitch pans filled and sealed
- Conduit, gas lines and supports sitting on pads, not on bare membrane
- Skylights and smoke vents latched, lenses uncracked
Drainage
- Drains clear, strainers in place, clamping rings tight
- Scuppers and overflow scuppers open
- Gutters and downspouts attached and flowing
- Ponding areas measured and photographed
Timing matters for that last item. The International Building Code describes positive roof drainage as a roof that drains within 48 hours of rain, so a puddle seen the morning after a storm is not yet a finding. A puddle still there two days later is, and its outline, depth and location go on the roof plan so the next visit can tell whether it is growing.
Want a roofer to look at it?
Free inspection with photos. Se habla español.
- 5.0 on Google (33 reviews)
- Free inspections & estimates
- Se habla español
- Workmanship guaranteed in writing with every contract
Rooftop Unit Flashing and Curbs
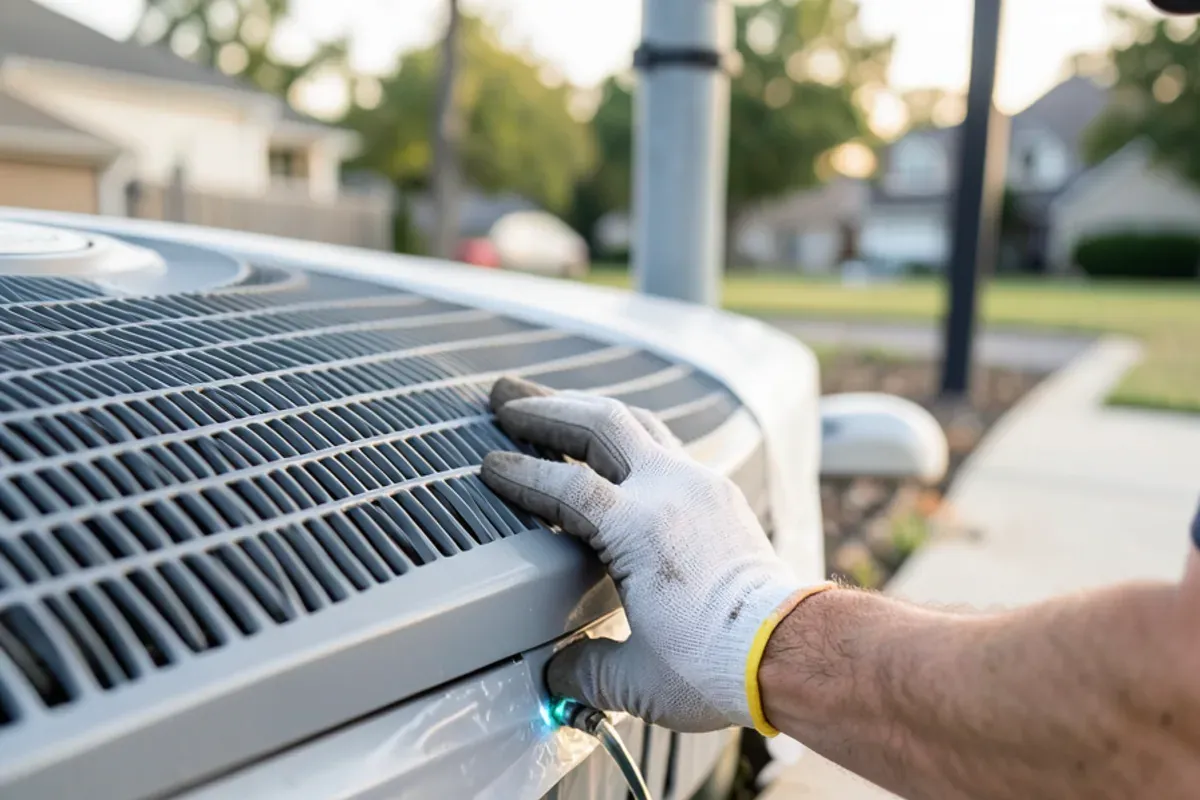
Rooftop HVAC equipment deserves its own section because it causes so many leaks. Check that each curb's base flashing is adhered to the curb and the roof, that the curb is tall enough above the finished roof, and that corners have not split. Look at the unit's access panels and seals, since water can enter through the unit and appear to be a roof leak. Condensate lines should discharge into a drain or onto a protected surface, not directly onto the membrane. Finally, check the walkway pads leading to each unit; worn or missing pads usually mean worn membrane beside them.
Post-Hail Checks for DFW Flat Roofs
After a hailstorm, add these to the visit:
- Soft metals and equipment for dents that show hail size and direction: vent caps, unit cabinets, condenser fins, gutters.
- Test areas marked on each roof section, with every impact circled and photographed.
- Granule displacement and mat fractures on granulated cap sheets.
- Underfoot checks and cores on single-ply roofs, where crushed cover board or insulation may not show on the surface.
- Skylights, smoke vents and drain domes for cracks.
- Date and storm reference, using National Weather Service storm reports for the area when available.
The goal is a record that ties damage to a date, which is what both an owner and an insurer need.
Roof Condition Report: What You Should Receive
| Section | What it should contain |
|---|---|
| Summary | Overall condition, urgent items and a recommended next step |
| Roof plan | A sketch or aerial with roof sections and numbered issue locations |
| Photos | One or more per issue, matched to the plan numbers |
| Moisture findings | Core locations and results, or survey results, if performed |
| Repairs made | What was fixed during the visit and with what material |
| Recommendations | Repairs, maintenance and budget items ranked by priority |
| Storm notes | Hail or wind findings, with dates, when relevant |
If the report you received has no roof plan and no photo numbering, it will be hard to use next year, or to show an insurer.
What We Flag Most Often on Dallas-Area Roofs
On older buildings in Dallas, such as the warehouse and showroom stock along the Stemmons Corridor, we often find two or more roof layers, coping joints that were caulked instead of properly re-flashed, and drains that sit high after years of deck movement. On newer distribution buildings, the common items are loose perimeter fasteners, damaged smoke vents and membrane wear on the route to rooftop units.
Across all of them, the most frequent finding is the same: penetrations added after the original roof was built, sealed with whatever was handy. Those are worth checking on every visit.
There is a judgment call in every inspection that owners should know about. Cores tell the truth about insulation, but each one is a hole that has to be patched, so we do not core a roof just to fill a report. We take them where a soft spot, an infrared reading or a hail test area raises a real question, and we photograph each patch. On a roof with no moisture clues and a recent clean history, a careful walk and probing may be the right depth for that year.
Schedule a Thorough Inspection
Our commercial roof inspection follows this checklist and returns a photo report you can act on; it is free, and we explain each finding in English or Spanish (inspección de techo comercial en español). Owners across DFW can book one with our roofing contractor in Irving, TX team by calling (725) 745-8803.
Questions readers ask
How long does a commercial roof inspection take?
Should tenants be told before a roof inspection?
Is a drone flight or infrared scan enough for a commercial roof inspection?
Do you charge for a commercial roof inspection in DFW?
Sources

Written by the RJ Premium Roofing team, a bilingual roofing contractor based in Irving, TX. We inspect, repair and replace roofs across Dallas–Fort Worth and document storm damage for homeowners’ insurance claims.